Achieving the perfect chewy chocolate chip cookie is often seen as a culinary holy grail, but the reality is rooted firmly in the laws of physics and chemistry rather than luck. To understand why one cookie snaps like a cracker while another bends with a soft, fudgy center, we must look at the interaction of proteins, sugars, and heat. The “chew” we crave is the result of controlled gluten development and strategic moisture management. In a standard cookie dough, the flour provides the structure through two proteins: glutenin and gliadin. When these proteins are hydrated by the liquid in eggs and the water content in butter, they link together to form gluten. While too much gluten makes a cookie tough or bread-like, a precise amount creates the elasticity necessary for that satisfying resistance when you take a bite.
The most powerful tool in the baker’s arsenal for texture is sugar—specifically, the ratio of brown sugar to white granulated sugar. White sugar is excellent for crispness because it is non-hygroscopic; it releases moisture easily during baking, allowing the edges to dehydrate and crunch. Brown sugar, however, contains molasses. Molasses is a humectant, meaning it actively attracts and holds onto water molecules. By shifting the ratio heavily toward brown sugar, we ensure that the dough retains moisture even after it has been subjected to the intense heat of the oven. This moisture keeps the proteins and starches from becoming brittle, resulting in a soft-batch feel that lasts for days.
Furthermore, the Maillard Reaction plays a critical role in the flavor profile of the chewy cookie. This chemical reaction occurs between amino acids and reducing sugars at temperatures above 285°F. It is what creates the savory, toasted, and caramel-like notes that balance the intense sweetness of the chocolate. By using a touch of baking soda, we raise the pH level of the dough. An alkaline environment accelerates the Maillard Reaction, allowing the cookies to develop a deep, golden-brown hue and complex flavor without requiring a long, dehydrating bake time. This allows us to pull the cookies out while the centers are still technically “underdone,” relying on the thermal mass of the baking sheet to finish the process through carry-over cooking. This transition from oven to cooling rack is the final, most crucial step in preserving the internal hydration that defines the perfect chew.
## Ingredients
* **Unsalted Butter:** 1 cup (2 sticks), softened to room temperature
* **Brown Sugar:** 1 ½ cups, packed (light or dark)
* **Granulated Sugar:** ½ cup
* **Large Eggs:** 2, room temperature
* **Vanilla Extract:** 1- 3 teaspoons
* **All-Purpose Flour:** 3 cups (leveled)
* **Baking Soda:** 1 teaspoon
* **Cornstarch:** 2 teaspoons (the secret to a soft-set texture)
* **Salt:** 1 teaspoon
* **Semi-Sweet Chocolate Chips:** 2 cups (12-ounce bag)
## Instructions
### 1. Preheating and Preparation
Begin by preheating your oven to 350°F (175°C). Position your oven racks in the center to ensure even air circulation. Line two large, heavy-duty aluminum baking sheets with parchment paper or silicone baking mats. Avoid using dark-colored non-stick pans if possible, as these absorb more radiant heat and can cause the bottoms of the cookies to brown too quickly or become crispy before the center is set.
### 2. Creaming the Fats and Sugars
In a large mixing bowl, or using a stand mixer fitted with the paddle attachment, combine the softened unsalted butter, packed brown sugar, and granulated sugar. Beat on medium-high speed for approximately 3 to 4 minutes. You are looking for a transformation: the mixture should turn pale and become noticeably fluffy. This process, known as creaming, aerates the butter, creating tiny pockets of air that will expand in the oven, contributing to a thick, soft structure rather than a flat, greasy one.
Table of Contents
Toggle3. Incorporating Liquids
Add the room temperature eggs one at a time, beating well after each addition to ensure the fats and liquids are fully emulsified. Scrape down the sides of the bowl with a rubber spatula to ensure no unmixed butter remains. Pour in the vanilla extract and mix for another 30 seconds. Professional Insight: Using room temperature eggs prevents the butter from seizing, which maintains the smooth consistency of the emulsion.
4. Sifting and Mixing Dry Ingredients
In a separate medium bowl, whisk together the all-purpose flour, baking soda, cornstarch, and salt. The addition of cornstarch is a professional secret; it interferes with the gluten structure just enough to ensure the cookie remains tender and “soft-batch” in style. Turn your mixer to the lowest speed and gradually add the dry ingredients to the wet ingredients. Mix only until no streaks of white flour remain. Over-mixing at this stage will over-develop the gluten, leading to a tough, bready cookie instead of a chewy one.
5. The Chocolate Fold
Add the semi-sweet chocolate chips to the dough. Use a sturdy spatula to fold them in by hand. This ensures the chips are evenly distributed throughout the thick dough without further agitating the gluten. The dough should be thick, heavy, and slightly tacky to the touch.
6. Portioning and Chilling (Optional but Recommended)
For the best results, use a large cookie scoop (about 3 tablespoons of dough per cookie) to portion out rounds of dough. Place the dough balls on a tray and refrigerate for at least 30 minutes. Chilling the dough allows the flour to fully hydrate and solidifies the fat, which prevents the cookies from spreading too thin in the oven. If you are in a hurry, you can skip this, but your cookies will be thinner.
7. The Bake
Arrange the dough balls on the prepared baking sheets, spaced at least 2 inches apart to allow for spread. Bake for 10 to 12 minutes. CRITICAL STEP: Remove the cookies from the oven when the edges are a very light golden brown but the centers still look slightly damp and “underdone.” They may look like they aren’t finished, but this is the key to the chew.
8. The Set
Allow the cookies to cool on the baking sheet for at least 10 minutes. During this time, carry-over cooking occurs. The heat from the pan will finish setting the starches in the center of the cookie while the internal moisture remains trapped. After 10 minutes, move the cookies to a wire cooling rack to finish cooling completely.

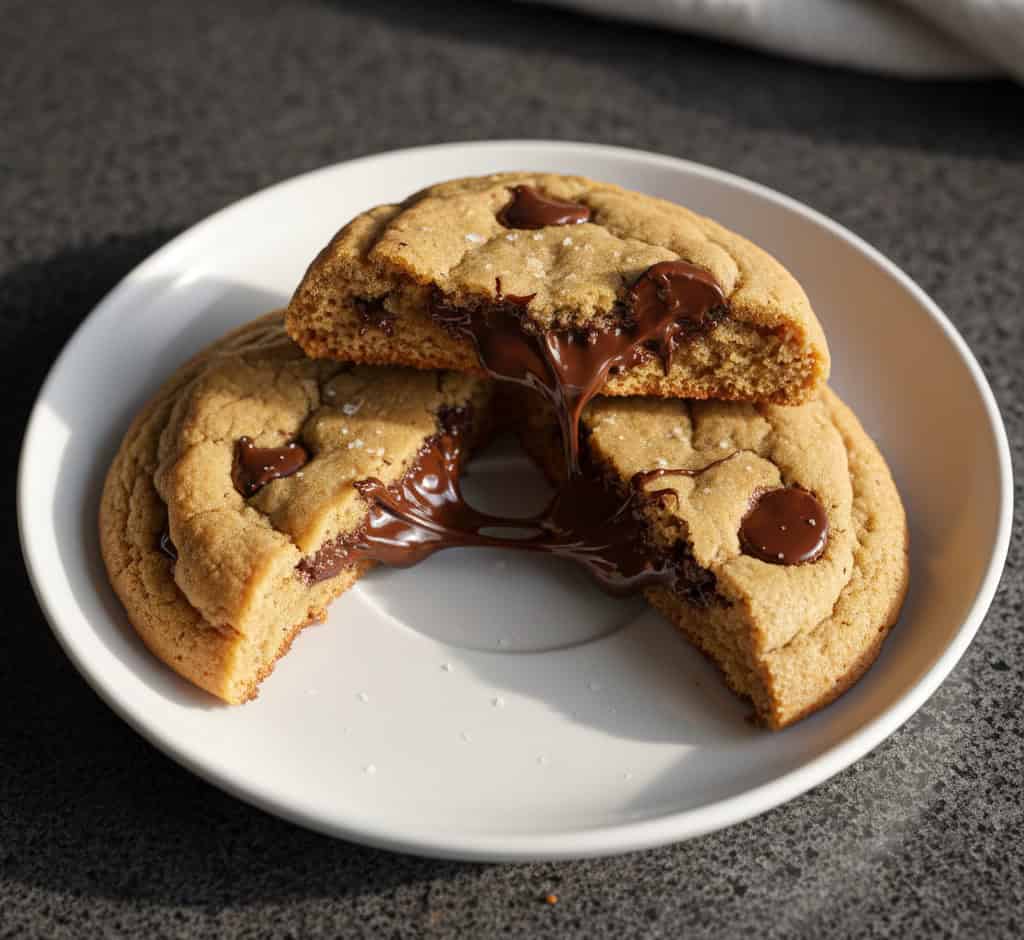
Chewy Chocolate Chip Cookies
Ingredients
- Unsalted Butter: 1 cup 2 sticks, softened to room
- Brown Sugar: 1 ½ cups packed (light or dark)
- Granulated Sugar: ½ cup
- Large Eggs: 2 room temperature
- Vanilla Extract: 1 to 3 teaspoons
- Almond Extract: 1/8 to 1/4 teaspoon
- All-Purpose Flour: 3 cups leveled
- Baking Soda: 1 teaspoon
- Cornstarch: 2 teaspoons the secret to a soft-set texture
- Salt: 1 teaspoon
- Semi-Sweet Chocolate Chips: 2 cups 12-ounce bag
Method
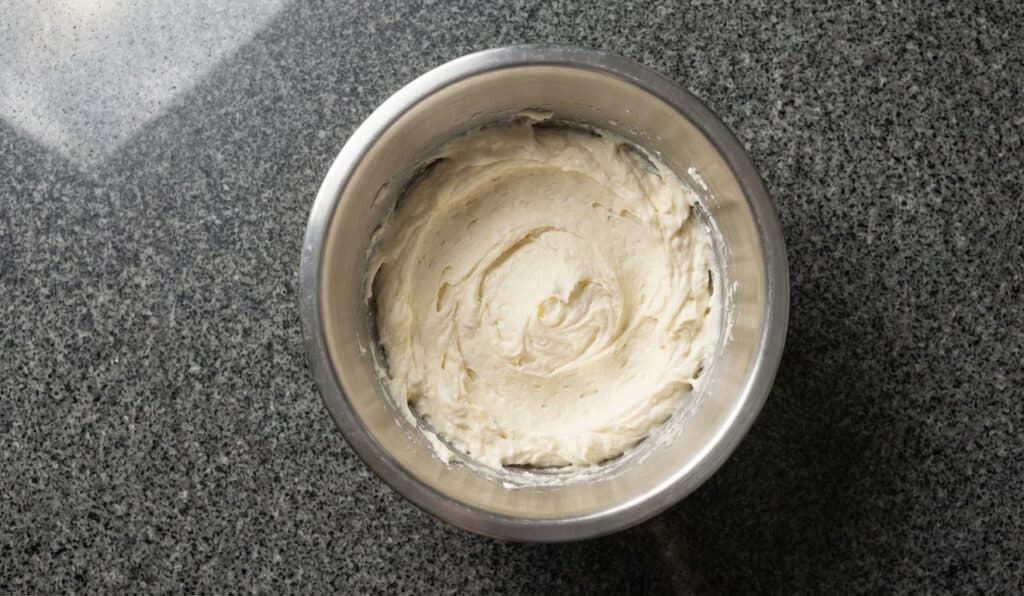
- Cream butter and sugar together using paddle attachment or hand-beater
- Add the eggs, mixing in one at a time.
- Add Vanilla extract and Almond extract (if used)
- In a separate bowl, whisk together flour, salt, baking soda, and cornstarch.
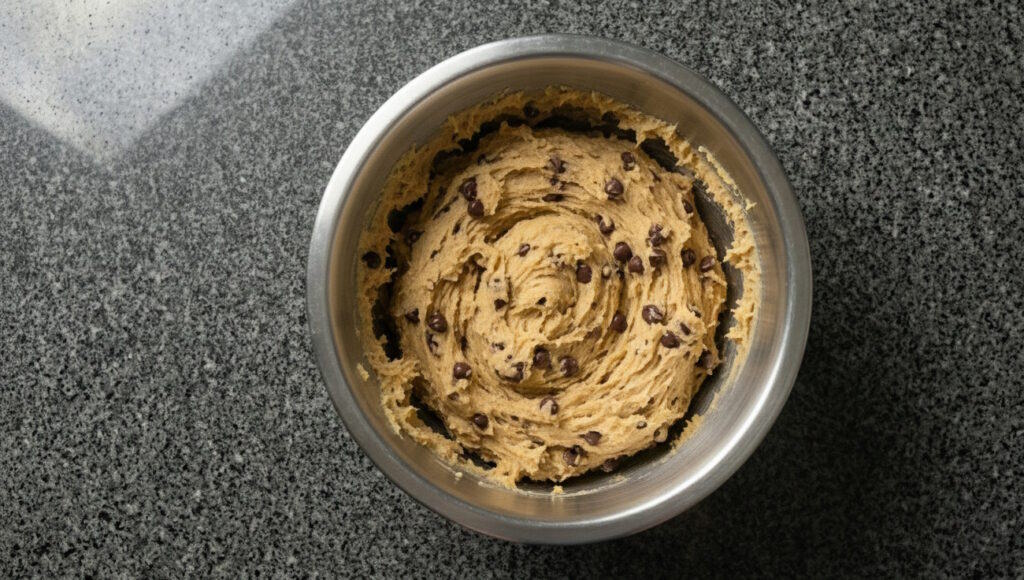
- Mix the dry ingredients into the wet ingredients. Mix until just combined.
- Fold in the chocolate chips.
- Place in air-tight container and chill for up to 48 hours (optional)
- Scoop into tablespoon-sized balls and smooth them out by rolling between hands.
- Bake for 9-12 minutes or until the tops of the cookies begin to develop a golden-brown texture
- Remove from oven and rest on sheet for 2 minutes, then transfer to wired cooling rack for up to an additional hour.
Notes
Troubleshooting & Professional Insights
Problem: My cookies spread too much and are thin. Professional Insight: This usually happens because the butter was too soft (almost melted) or the dough wasn't chilled. If your kitchen is warm, the butter loses its structural integrity quickly. Additionally, ensure you are measuring your flour by the "spoon and level" method. If you scoop the flour directly with the measuring cup, you often pack it down, leading to inaccurate ratios. Problem: My cookies are cakey, not chewy. Professional Insight: Cakey cookies are often the result of too many eggs or too much leavening. However, the most common culprit is over-beating the eggs. When eggs are beaten excessively, they create a meringue-like structure that lifts the dough into a cake-like crumb. Stick to the "one at a time" rule and mix only until incorporated. Problem: The bottoms are burnt but the tops are raw. Professional Insight: This is a classic thermal conductivity issue. If you are using dark, thin baking sheets, they heat up too rapidly. Switch to heavy-gauge aluminum or use a silicone baking mat to provide a heat buffer. Also, check that your oven rack is in the center position; being too close to the bottom heating element will scorch the sugars in the dough. Chef's Secret for Aesthetics: For those "bakery-style" looks, reserve a handful of chocolate chips before mixing. After portioning the dough balls, press 3 or 4 extra chips into the top of each ball. As the cookie spreads, these chips will remain visible on the surface. For perfectly round cookies, place a circular biscuit cutter or a large glass over the cookie immediately after it comes out of the oven and gently scoot it in a circular motion to "reshape" the soft edges.Storage and Swaps
- Storage: Store cooled cookies in an airtight container at room temperature for up to 5 days. To keep them extra soft, place a single slice of white bread in the container; the cookies will absorb the moisture from the bread.
- Freezing: You can freeze the unbaked dough balls for up to 3 months. Bake them directly from the freezer, adding 1-2 minutes to the total bake time.
- Swaps: If you prefer a deeper flavor, you can swap the semi-sweet chips for dark chocolate chunks. If you do not have cornstarch, you can omit it, though the texture will be slightly less "velvety."