The Science and Story of the Perfect Sear
There is a fundamental difference between chicken that is simply “cooked” and chicken that is “seared.” That difference lies in a complex chemical transformation known as the Maillard reaction. Named after French chemist Louis-Camille Maillard, this reaction occurs when the amino acids in the chicken proteins react with reducing sugars under high heat—typically between 300°F and 450°F. This isn’t just browning; it is the creation of hundreds of different flavor compounds that provide the savory, “umami” depth we crave.
To achieve this in a home kitchen, we must understand thermal conductivity. When you place a piece of cold chicken into a pan, the pan’s temperature drops instantly. Professional results require a pan that can maintain “heat flux,” or a steady flow of energy. While many reach for non-stick pans, the secret to a world-class pan sauce is actually found in stainless steel or cast iron. These materials allow for the development of “fond”—those golden-brown, caramelized bits that stick to the bottom of the pan. In professional kitchens, fond is considered “liquid gold.” It is the concentrated essence of the chicken, transformed by heat into a base for a sauce that no bottled gravy can replicate.
Furthermore, we utilize a bit of “pH science” to enhance our crust. By lightly dusting the chicken in all-purpose flour, we provide additional surface area for the Maillard reaction to occur. This also slightly raises the surface pH of the meat, which accelerates the browning process. The result is a chicken breast that is crisp on the outside and exceptionally juicy on the inside.
Finally, the sauce itself is a lesson in emulsification. A pan sauce is a “broken” system until we perform a technique called monter au beurre, or mounting with butter. By whisking cold butter into a hot reduction of chicken broth and lemon juice, the milk solids and fats in the butter encapsulate the water molecules. This creates a glossy, “nappe” consistency—a culinary term meaning the sauce is thick enough to coat the back of a spoon smoothly. This process turns a thin liquid into a luxurious, velvet-like coating that ties the entire meal together.
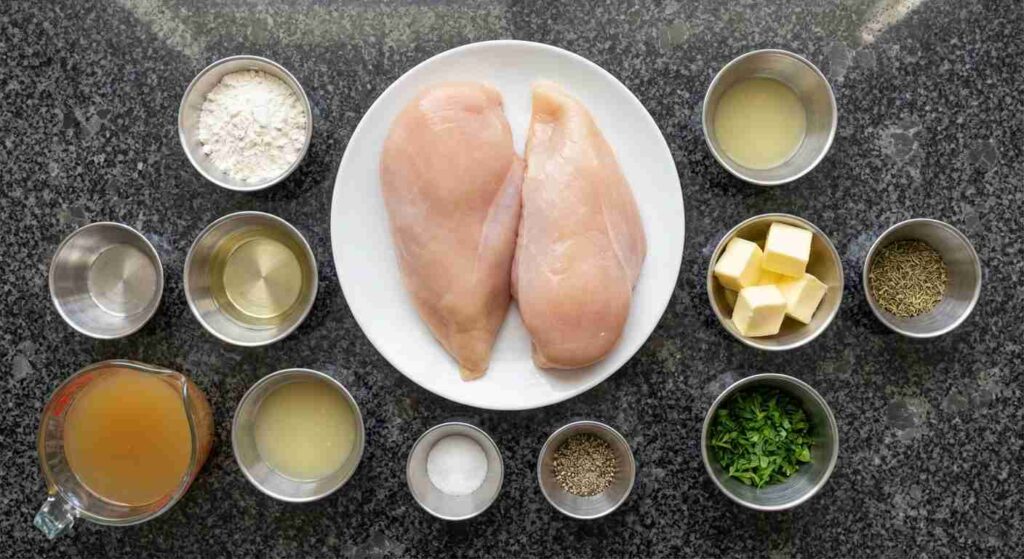
Ingredients
- 2 large boneless, skinless chicken breasts (approximately 1 pound)
- 1/2 teaspoon salt
- 1/2 teaspoon ground black pepper
- 1/4 cup all-purpose flour
- 2 tablespoons vegetable oil
- 1/2 cup chicken broth
- 1 tablespoon lemon juice
- 2 tablespoons unsalted butter (kept cold until needed)
- 1/2 teaspoon dried thyme
- 1 tablespoon fresh parsley, chopped (for garnish)
Hyper-Detailed Instructions
1. Preparation and Butterfly Technique
Begin by placing your chicken breasts on a clean cutting board designated for poultry. To ensure even cooking—the most critical factor in avoiding dry chicken—you must even out the thickness. Place your hand flat on top of the breast and carefully slice horizontally through the thickest part, stoping before you cut all the way through, then open it like a book (this is “butterflying”). Alternatively, place the chicken between two sheets of plastic wrap and use a meat mallet or a heavy skillet to pound the meat to a uniform 1/2-inch thickness.
2. Seasoning and The Flour Dredge
Pat the chicken completely dry with paper towels. Moisture is the enemy of the Maillard reaction; if the surface is wet, the chicken will steam rather than sear. Season both sides generously with salt and black pepper. Place the all-purpose flour in a shallow dish. Dredge each piece of chicken in the flour, shaking off any excess. You want a translucent, whisper-thin coating, not a thick batter. This flour will eventually help thicken your pan sauce through residual starch.
3. Establishing the Sear (Conduction)
Place a large stainless steel or cast-iron skillet over medium-high heat. Add the vegetable oil and swirl to coat. Wait until the oil is shimmering and just starting to produce a faint wisp of smoke. Carefully lay the chicken into the pan, laying it away from you to prevent oil splatters.
Do not move the chicken for at least 4 to 5 minutes. This is where patience is required. The chicken will initially stick to the pan; it will “self-release” once a proper crust has formed. Once the edges are visibly golden and the chicken lifts easily, flip it over.
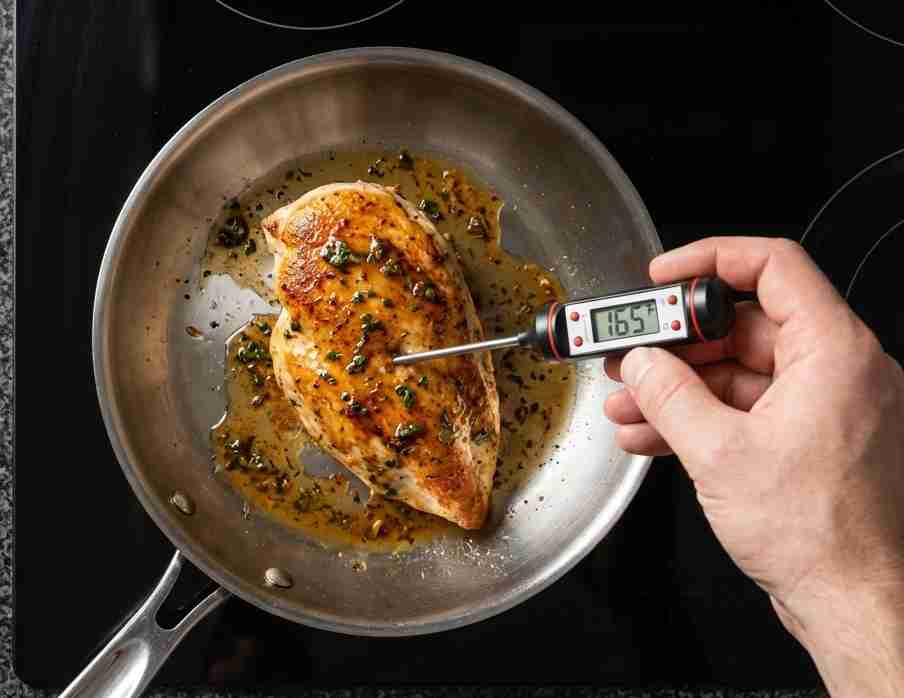
4. Finishing and Temperature Control
Cook the second side for another 4 to 5 minutes. Use a calibrated food thermometer to check the internal temperature. Once it reaches 165°F (74°C), immediately remove the chicken from the pan and place it on a warm plate. Tent it loosely with aluminum foil. This “resting” period allows the muscle fibers to relax and reabsorb the juices, ensuring the meat stays moist.
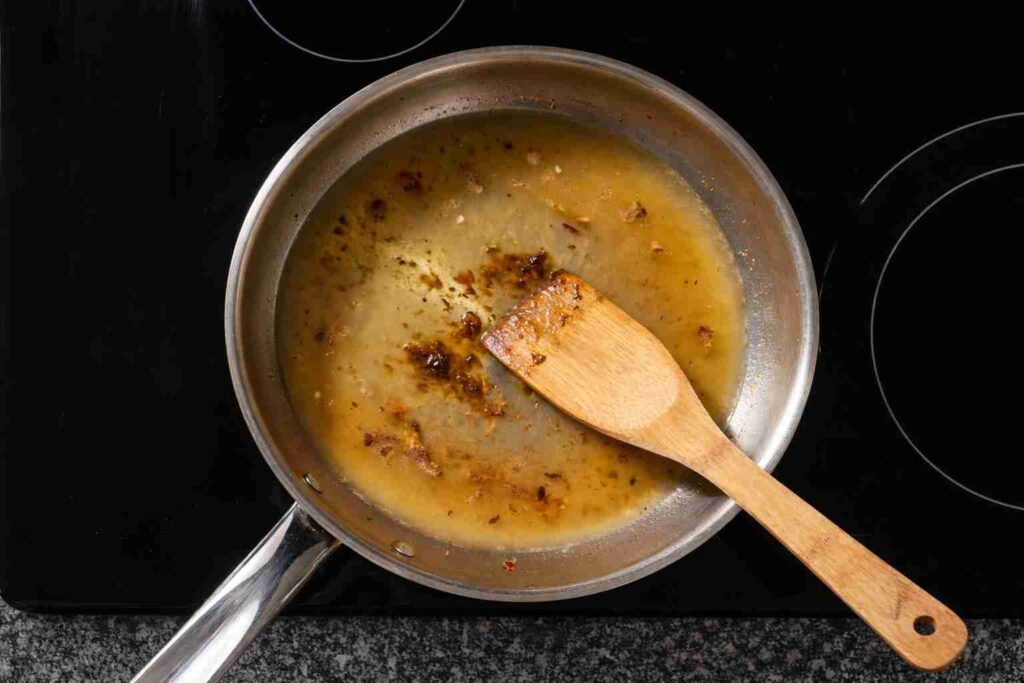
5. Deglazing the Fond
Your pan should now have brown bits stuck to the bottom. This is the fond. With the pan still over medium-high heat (but removed briefly if you see any smoke), pour in the chicken broth and lemon juice. Use a wooden spoon or a whisk to aggressively scrape the bottom of the pan. You will see the liquid turn a rich, deep amber color as the fond dissolves. This is deglazing. Add the dried thyme and let the liquid boil and reduce by about half, which should take 2 to 3 minutes.
6. Mounting the Sauce (Emulsification)
Turn the heat down to low. This is the most technical step. Take your cold unsalted butter and add it to the pan one tablespoon at a time. Whisk constantly. The goal is to melt the butter into the liquid so slowly that it forms an emulsion. If the pan is too hot, the butter will “break” (separate into clear fat and white solids). You are looking for the sauce to thicken slightly and take on a glossy, opaque sheen.
7. Final Assembly
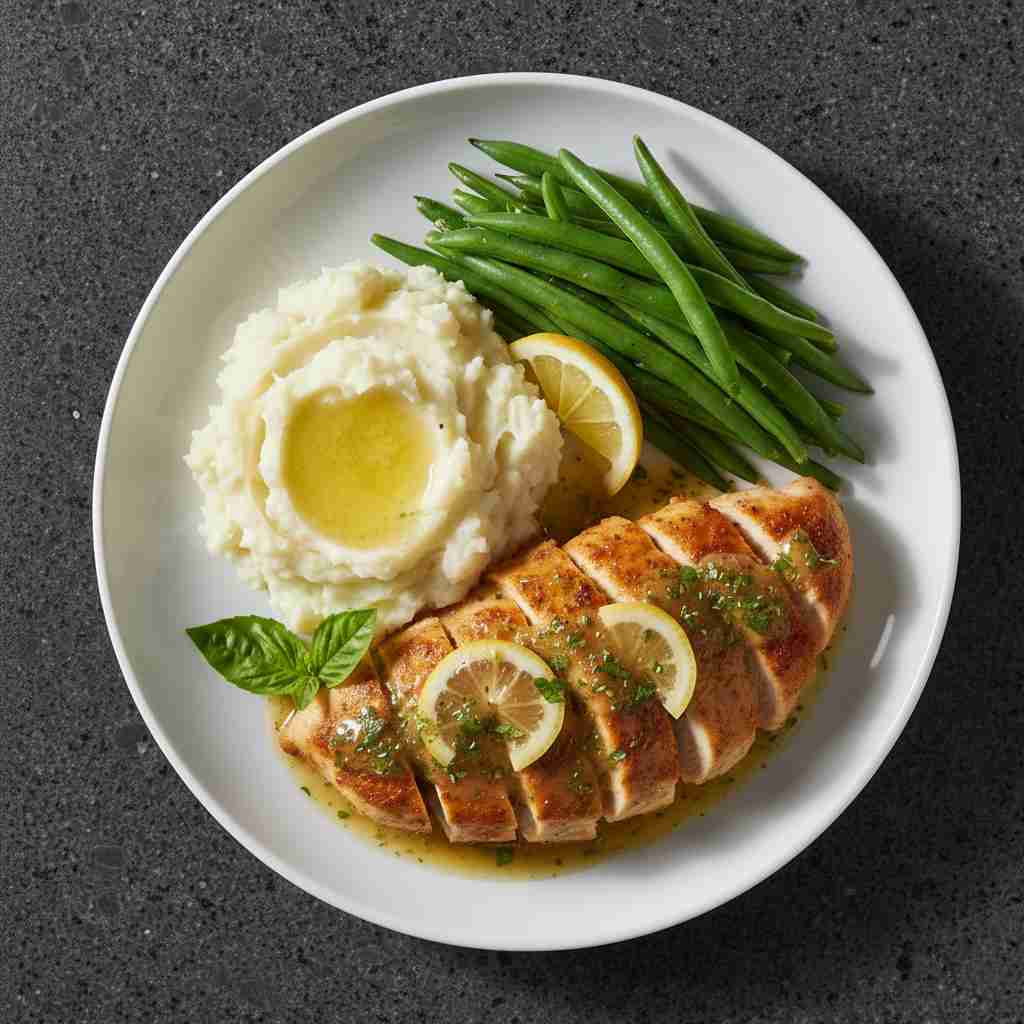
Taste the sauce and add a pinch more salt or pepper if needed. Place the rested chicken back into the pan for 30 seconds just to coat it in the sauce and warm it through. Transfer to serving plates, pour the remaining sauce over the top, and garnish with fresh parsley.
Notes & Professional Insights
- The Pan Choice: While a non-stick pan is easier to clean, it will not produce the same amount of fond. For the best sauce, use stainless steel.
- Butter Temperature: Always use cold butter for the sauce. Cold butter melts more slowly, which allows the milk solids to emulsify more effectively with the water-based broth.
- Swaps: If you don’t have lemon juice, a teaspoon of white vinegar or a splash of dry white wine works perfectly to provide the necessary acidity to balance the fat of the butter.
- Storage: This dish is best served immediately. However, leftovers can be stored in an airtight container for up to 3 days. Reheat gently in a pan with a splash of water to loosen the sauce.
Safety & Disclaimer
Essential Food Safety Warnings: * Internal Temperature: According to USDA/FSIS guidelines, chicken must reach a minimum internal temperature of 165°F (74°C) as measured by a calibrated food thermometer in the thickest part of the meat to ensure the destruction of Salmonella and Campylobacter. * The Danger Zone: Never leave cooked chicken or sauces at room temperature (between 40°F and 140°F) for more than 2 hours (1 hour if the ambient temperature is above 90°F). * Cross-Contamination: Use separate cutting boards for raw poultry and vegetables. Wash hands, utensils, and surfaces with hot, soapy water immediately after contact with raw chicken. * Deglazing Safety: If you choose to deglaze with any form of alcohol, remove the pan from the heat source before adding the liquid to prevent “flare-ups” or grease fires. Always keep a lid nearby to smother a flame if necessary.
Legal Disclaimer: The information provided is for educational purposes. Cooking involves inherent risks of fire and foodborne illness. Always use professional-grade equipment and follow local health department guidelines.