# The Science and Mastery of the Standard Loaf of Bread
The standard loaf of bread is the silent protagonist of the culinary world. While artisanal boules and high-hydration focaccias often steal the spotlight in social media feeds, it is the humble sandwich loaf—characterized by its uniform rectangular shape, soft crust, and tight crumb—that feeds the world. Historically, the evolution of the standard loaf tracks closely with the industrialization of the West. In the early 20th century, the development of the “Chorleywood bread process” in the UK and the rise of automated slicing in the United States transformed bread from a varying, local product into a predictable, shelf-stable staple.
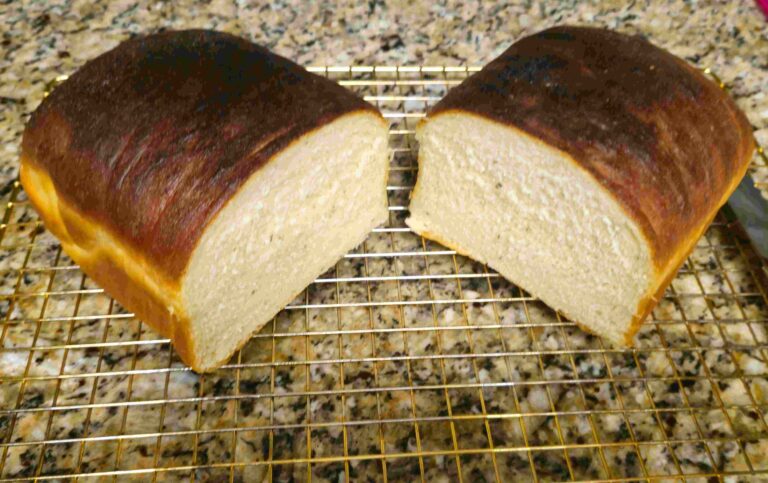
Culturally, the “standard loaf” represents a specific culinary ideal: reliability. Whether it is a white Pullman loaf or a whole wheat sandwich bread, the goal is a structure that can support heavy fillings without tearing, a texture that is soft enough for a child’s palate, and a flavor profile that complements rather than overpowers its contents. In the modern era, there is a burgeoning movement toward “Clean Label” baking, where the goal is to replicate the soft, pillowy texture of commercial bread using only foundational ingredients. This intersection of tradition and technology is where the home baker can truly shine, mastering the physics of gluten and the chemistry of fermentation to produce a loaf that surpasses store-bought alternatives in both nutrition and taste.
## The Deep Dive: Technical Anatomy of a Perfect Loaf
To create a masterpiece at home, one must understand that bread is not just food; it is a biological structure held together by physics. The transition from flour and water to a resilient slice of toast involves four critical technical pillars: Hydration, pH, Starch Gelatinization, and Gluten Development.
### 1. The 60% Hydration Rule
In professional baking, we talk in “baker’s percentages,” where the weight of every ingredient is calculated relative to the flour. For a standard sandwich loaf, the sweet spot for hydration is between 60% and 65%.
Why this specific range? Low hydration ensures a “closed crumb.” Unlike a sourdough baguette with large, irregular holes (alveoli), a sandwich loaf needs tiny, uniform air pockets. This structure is essential for spreading butter or mustard without it leaking through the bread. At 60% hydration, the dough is firm enough to be shaped tightly, which creates tension. This tension forces the carbon dioxide produced by the yeast to be distributed into thousands of microscopic bubbles rather than a few large ones.
### 2. Mastering pH and Fermentation
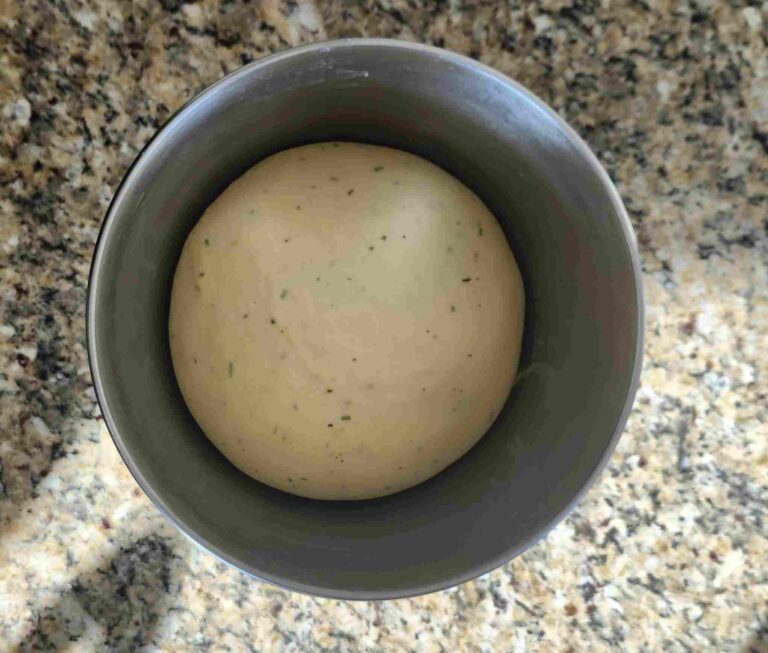
The flavor and shelf life of your bread are governed by its acidity. The ideal pH for a standard dough is between 5.5 and 6.0. Yeast, specifically *Saccharomyces cerevisiae*, thrives in this slightly acidic environment. As the yeast consumes the sugars in the flour, it produces not only CO2 but also organic acids.
Professional Insight: If your kitchen is too warm, fermentation happens too quickly, and the pH can drop too low (becoming too acidic). This can lead to “proteolysis,” where the acids actually start to break down the gluten proteins, resulting in a loaf that collapses in the oven or has a gummy, “undercooked” texture even if it reaches the correct internal temperature.
### 3. Thermal Conductivity and the “Pullman” Effect
Baking is a race between the outside of the loaf and the center. Heat moves through the dough via conduction. As the temperature rises, the starch granules in the flour reach a point called “gelatinization” between 140°F and 185°F. This is the moment the liquid dough becomes a solid.
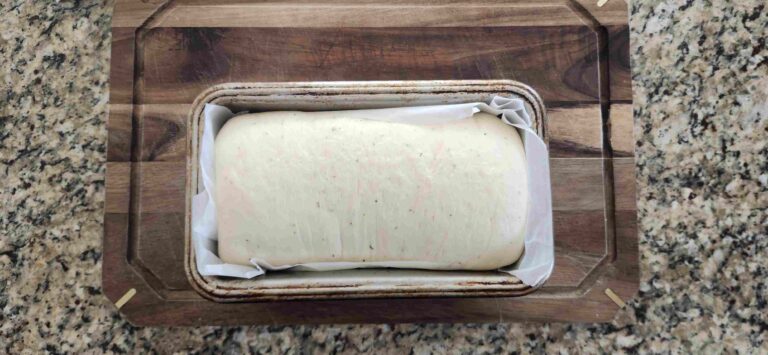
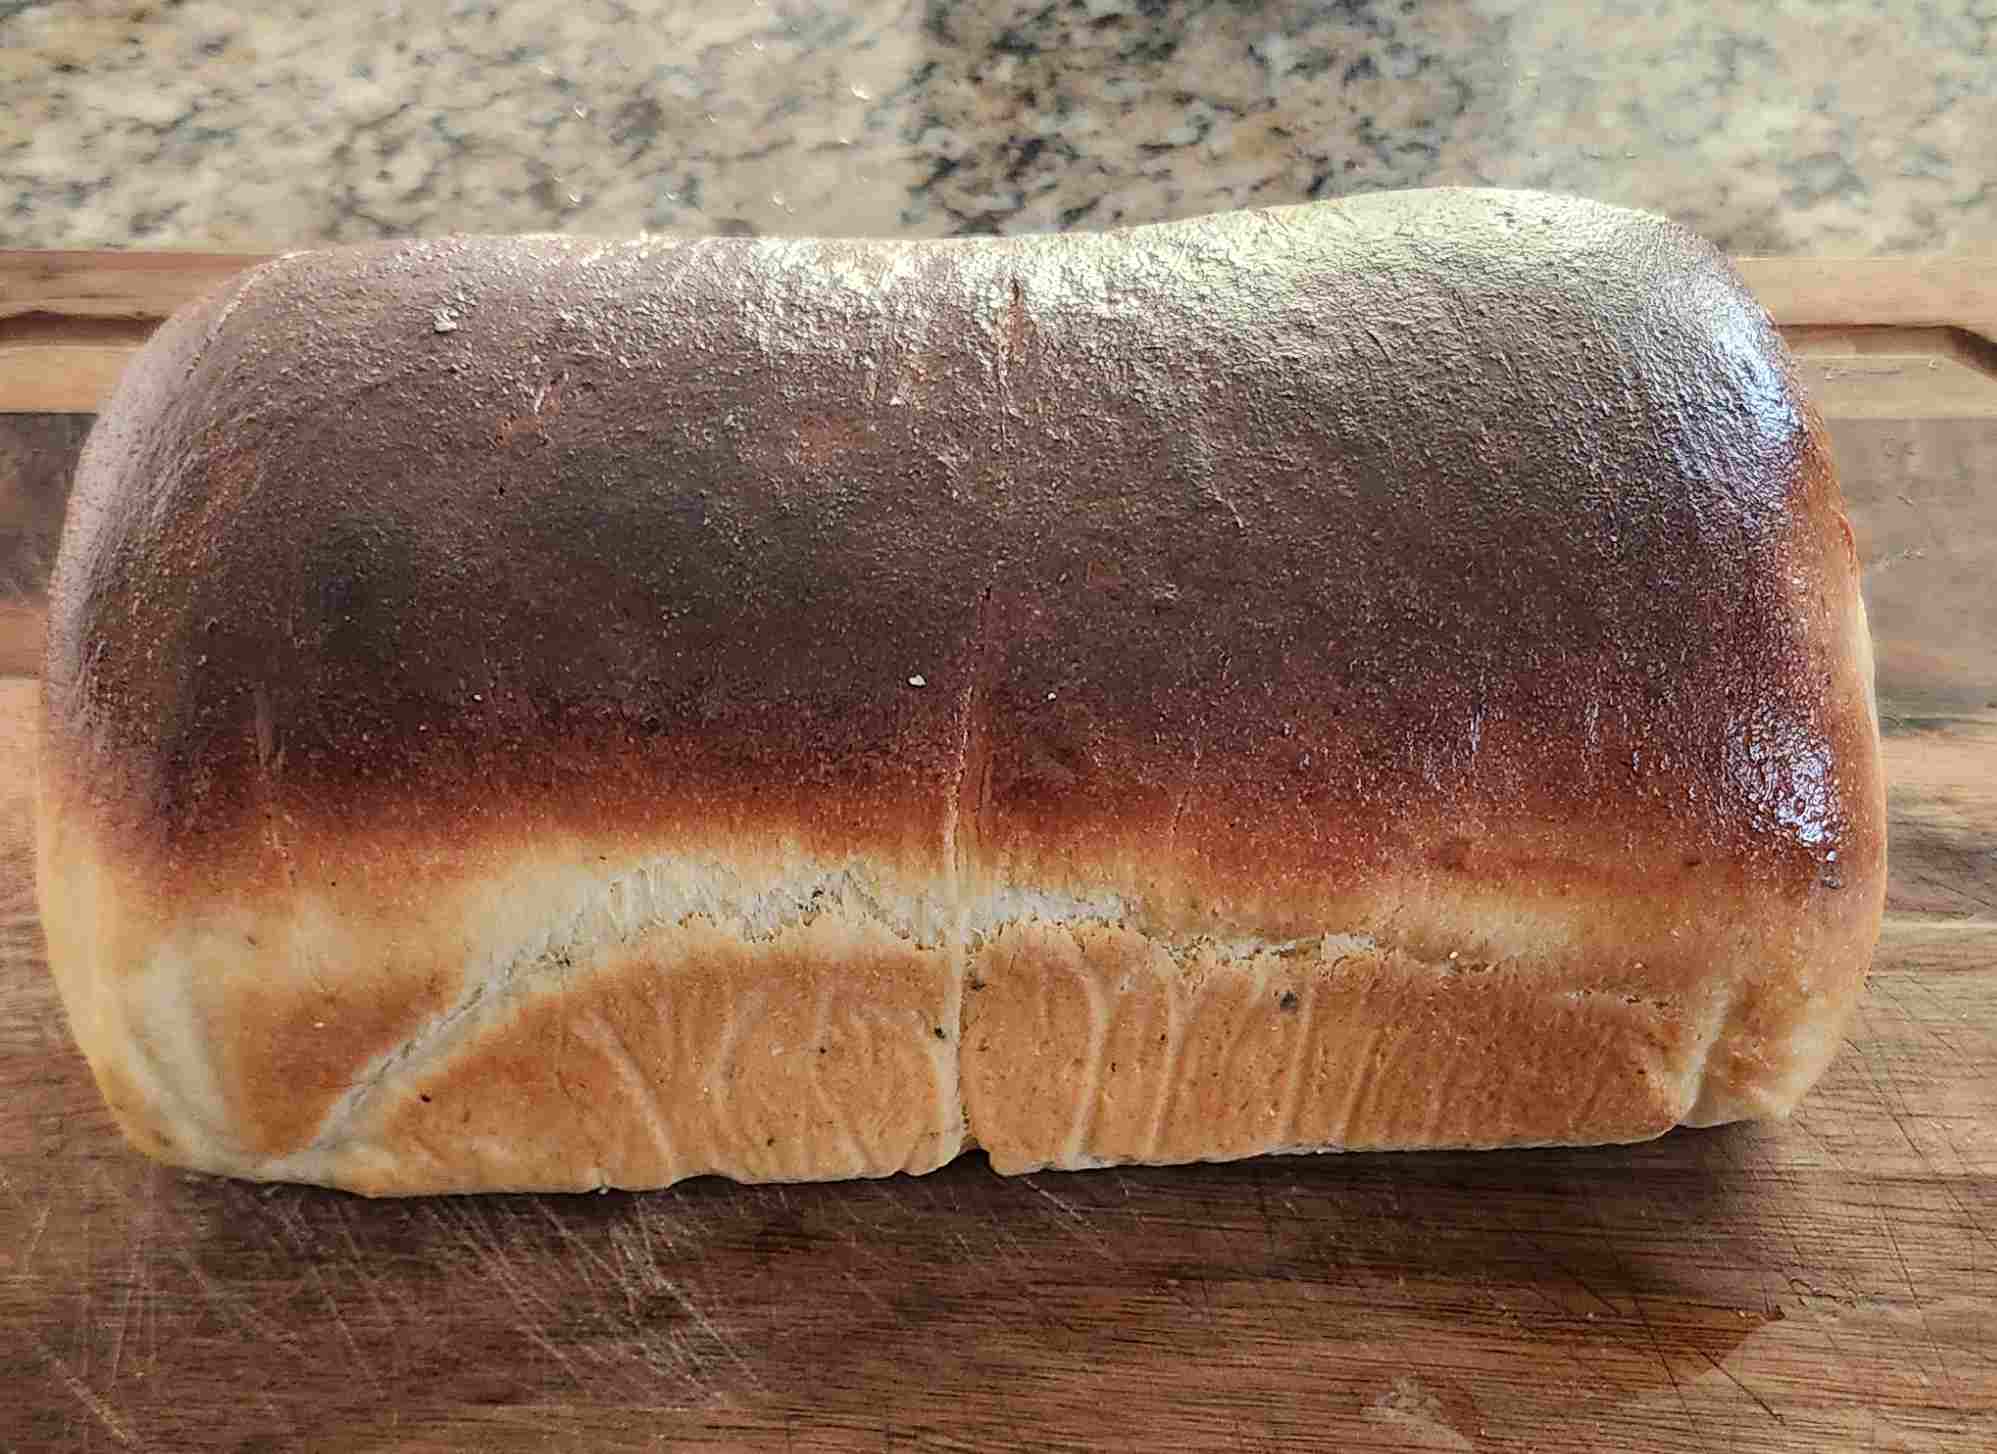
To achieve the perfectly square “Standard Loaf,” many professionals use a Pullman pan—a rectangular tin with a lid. The lid traps steam and restricts the bread’s rise, forcing it into a dense, perfectly even shape. Whether you use a lid or not, the target internal temperature for a finished loaf is exactly 190°F to 210°F. If you pull it out earlier, the center will collapse as it cools.
### 4. The Role of Fat and Sugar
Unlike lean breads (like French bread), a standard sandwich loaf usually includes a small amount of fat (unsalted butter or oil) and a touch of sugar.
* **Fat:** Acts as a “shortening” agent. It coats the gluten strands, preventing them from becoming too long and tough. This is what gives the bread its “tender” bite.
* **Sugar:** Provides immediate food for the yeast and aids in the Maillard reaction—the chemical process that creates the golden-brown crust.
## Troubleshooting: Common Failures and Chef’s Secrets
Even with the best intentions, baking can go wrong. Here are the professional solutions to the most common “Standard Loaf” issues.
### The “Flying Crust” (Gap between crust and crumb)
This occurs when the top of the loaf dries out too quickly or if the dough was not shaped with enough tension. To fix this, ensure your dough is covered during the rise to prevent a “skin” from forming, and practice the “roll and tuck” method during shaping to create a tight outer membrane.
### The Mystery of “Rope” Spoilage
This is a critical safety issue. If you cut into your bread and find it is sticky, stringy, or smells like rotting melon, it has been infected by *Bacillus mesentericus*. These spores can survive the heat of the oven.
* **The Fix:** This usually happens in very humid kitchens. To prevent it, you can add a tablespoon of white vinegar to your dough. The slight increase in acidity inhibits the growth of these bacteria without affecting the flavor. If you find “rope,” discard the loaf immediately and sanitize your bread box with vinegar.
### Preventing the Staling Trap
Many people believe the refrigerator keeps bread fresh. In reality, the refrigerator is the enemy of the standard loaf. The cold temperature accelerates “starch retrogradation,” a process where the starch molecules move back into a crystalline structure, pushing water out and making the bread tough and dry.
* **Chef’s Secret:** Store your bread at room temperature in a paper bag for the first 48 hours. For longer storage, slice the loaf and freeze it in a sealed plastic bag. Toasting a slice directly from the freezer restores the moisture and texture perfectly.
## Safety & Disclaimer
**Professional Insight on Allergens:** Bread is a primary source of **Wheat (Gluten)**. This recipe and guide are not suitable for individuals with Celiac disease or gluten sensitivities. If you are baking for others, be aware that standard kitchen environments often have “flour dust” which can cross-contaminate other surfaces.
**Storage Safety:** As mentioned in the troubleshooting section, any bread showing signs of “rope” (slimy, stringy interior) or visible mold must be discarded in its entirety. Do not simply cut off the moldy section, as the root-like hyphae of the mold can penetrate deep into the porous crumb of the loaf.
**Standardized Ingredients:** This guide focuses on the use of standard pantry items available at any local grocery store. We prioritize accessibility and safety over “premium” labels. Quality is a choice you make as a baker, but the science of bread remains consistent regardless of the price tag on your flour.
## The Busy Kitchen Standard Loaf Recipe
### Ingredients
* **All-Purpose Flour:** 500 grams (approx. 4 cups).
* **Warm Water:** 300 ml (approx. 1 ¼ cups).
* **Active Dry Yeast:** 7 grams (1 standard packet).
* **Unsalted Butter:** 30 grams (2 tablespoons), softened.
* **Granulated Sugar:** 15 grams (1 tablespoon).
* **Fine Salt:** 10 grams (1.5 teaspoons).
### Instructions
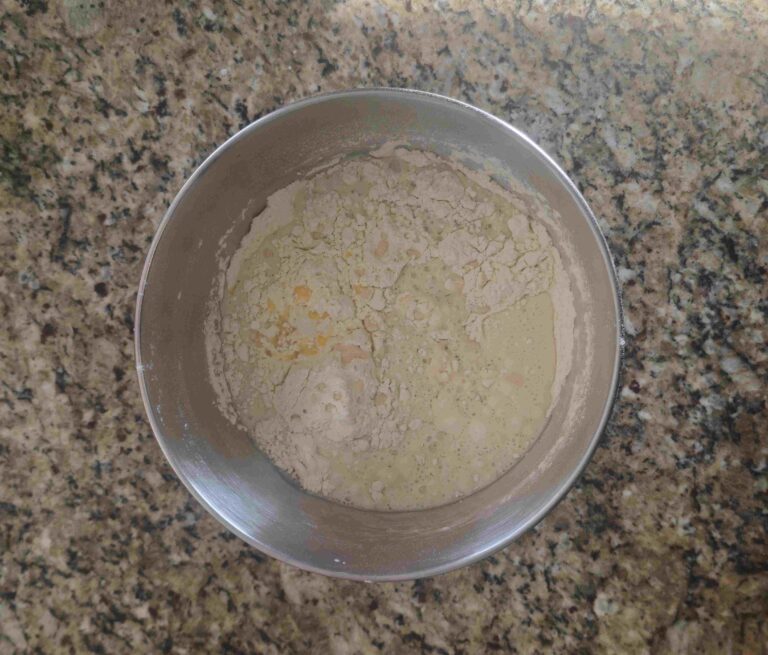
1. **Bloom the Yeast:** In a small bowl, combine the warm water, sugar, and yeast. Stir gently and let it sit for 5 to 10 minutes until a foamy layer forms on top.